I understand this post isn't for everyone. This is not a new idea people...
Women have used these since the beginning of time. (Thanks
Eve.)
I just want to make you aware that there are alternatives out there and give you something to ponder.
So, here it goes...
*Cotton is more natural than
sodium polyacrylate and
dioxin,
common ingredients found in disposable pads.
*Most of us own a washing machine.
*Cloth pads are super cute, customizable to person, needs, color, size, shape, thickness, length, material, flow, etc...
*It is your body, take charge of it.
If any of the above statements and/or links didn't convince you to switch or, at least, keep an open mind,
read this article. The problem for me is that there isn't enough concrete research on this to "prove" how potentially harmful disposable pads are in order for me to say with certainty that they should not be used. As a nurse practitioner, I want research studies, evidenced based practice to back up my beliefs, patients who report their stories in a medical journal. I just can't find any.
Think about this. (Just playing the Devil's advocate here.) Studies are often driven by money, correct? Well, if millions of women are paying big money for "necessary items," why study something that will hurt that income? I do hope it makes you think.
However, I did find many, many blogs by women who are so obsessed with cloth pads and the benefits of them, they blog about it! Some rave of comfort and some rave of
cuteness. Some want to save
money. Some write about it
changing their life; less cramps, less pain, less flow, shorter menses duration. Others just want to put
less garbage in the landfill while watering their gardens with the wash waste water (not for me), but whatever blows your dress.
Personally, I think the more natural something is, the better. If you are having any of the above mentioned problems, research or not, what does it hurt to try? Do your own experimenting.
I probably should mention that these are also really great for occasional bladder leakage. I have made some for an older family member who is on a tight budget and she loves them.
If you are worried about dye in the cute patterns, use organic, natural material that has not been dyed. Again, customizable. :)
From researching this topic (reading many, many bogs), here's what I have learned about constructing a cloth pad. You decide what your needs are.
You can use used material such as shirts, wash cloths, blankets, etc. Wash it thoroughly first!
Thorough descriptions of some materials linked
here.
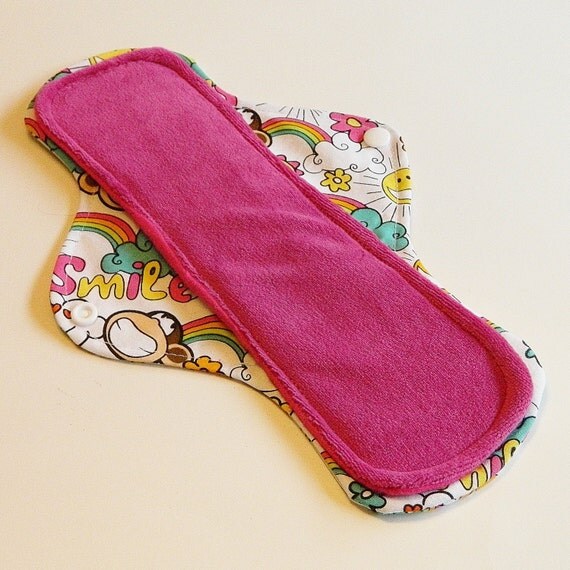
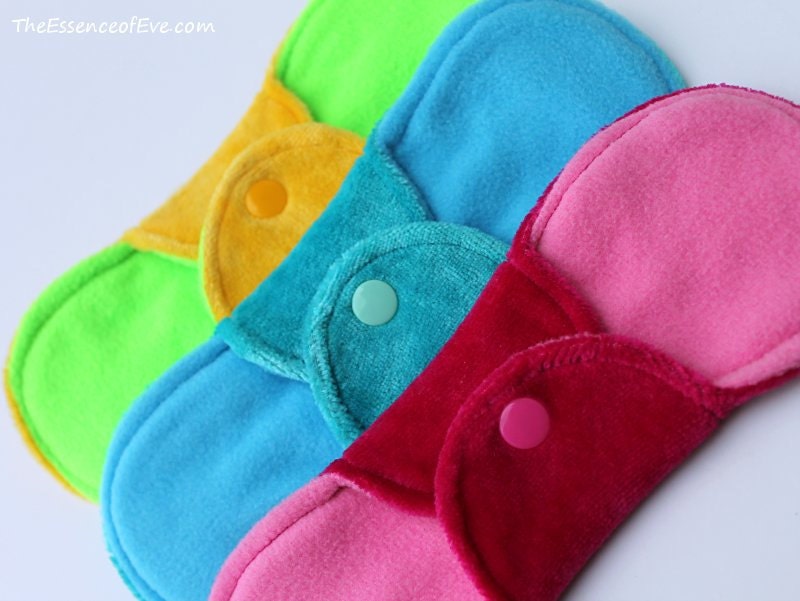
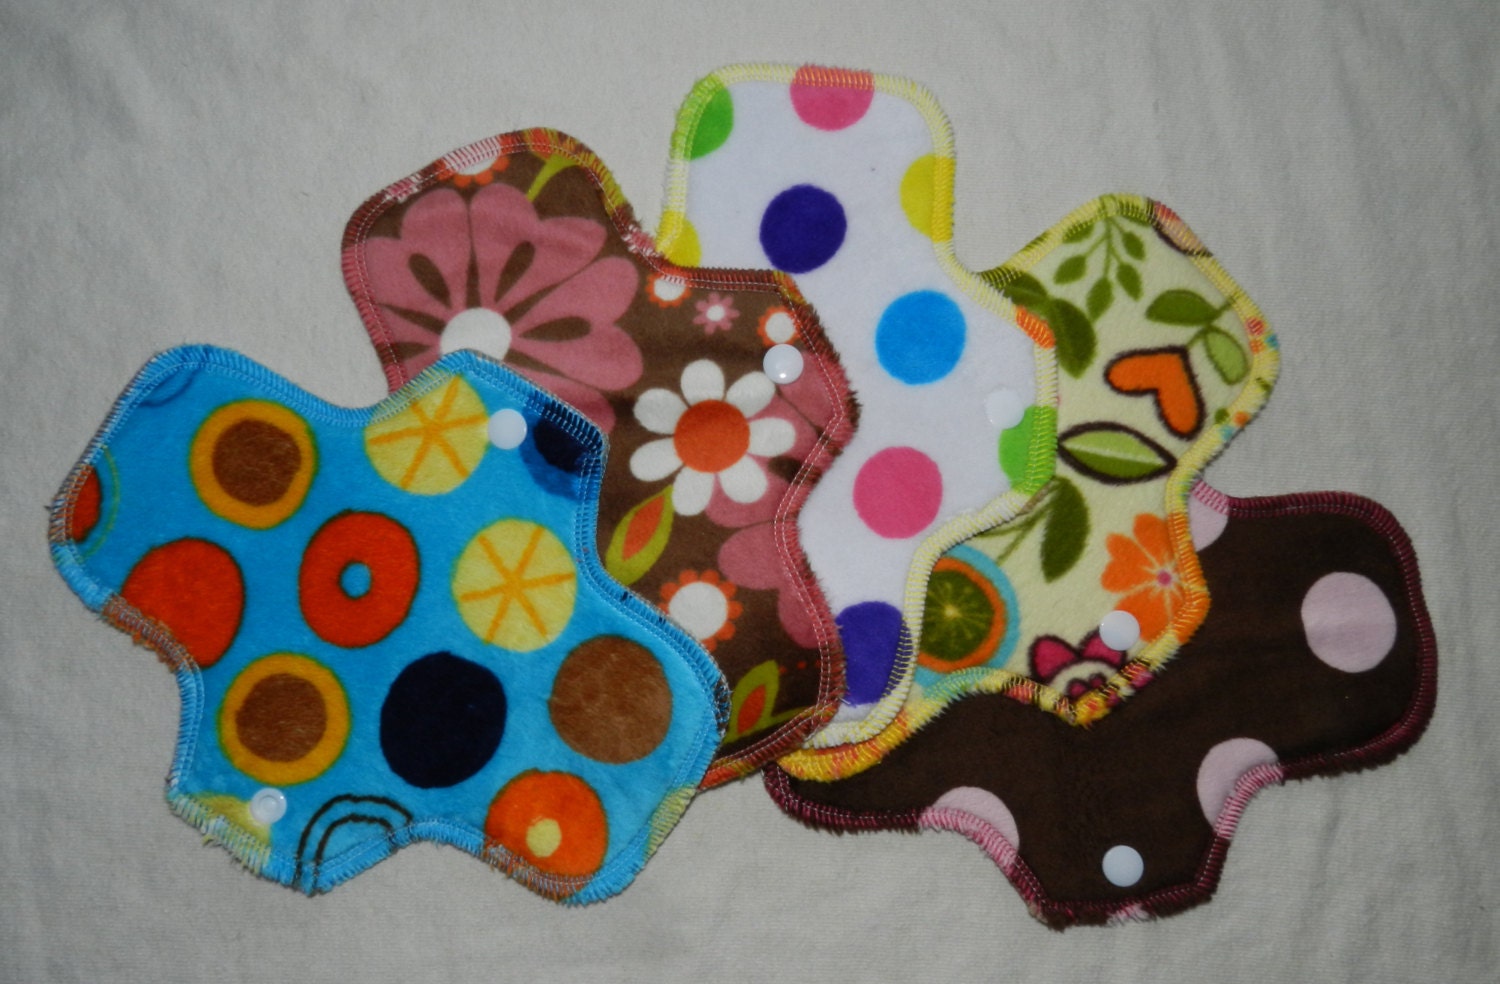
There are a lot of styles out there. Whether you are purchasing or making our own, explore different styles to see what you like and what will best suit your needs. Here's a few from other sites:
(I have no affiliation with these sites. I'm just trying to put all the info I find into one place for you. There are probably hundreds of sellers out there as well as people who post their own patterns to buy or for free. I have linked these images to their sources as a courtesy to the stores for using their images. Feel free to post your own links too!)
These, from
Luna Pads, have exchangeable pads made separate from the wings held in place with rickrack. You just change out the pad during the day and keep the wings in place. Some designs like this allow you to stack multiple pads on the wings so you can adjust your flow. I have seen this design in square pads also.
Glad Rags have wings that double as pockets and stacking multiple pads inside the wings can adjust the absorbency.
Etsy, as well as
eBay, are also a great places to order from individuals and to get ideas to create your own. A quick search will quickly give you lots of ideas.
The thing to remember is you can customize. Don't make a hundred pads before you try out the style.
When creating your own, here's the materials that are recommended. Of course, you can mix and match the materials. When I made them, I used flannel for the entire wing, top and bottom, with a lining of PUL so the urine would not leak through the pad and/or wings onto her garments. I was afraid the PUL would be too sticky or hot if touching her skin, so I put it between the flannel.
Top Layer Materials
Think absorbancy/wicking and softness because this layer is next to your skin
Minky - soft, short pile that wicks to inner layer
Cotton 100%
Jersey
Fleece - wicks through it to absorb it into middle layer (helps keep top dry next to skin)
Flannel
Velour (try for 80% cotton or bamboo in this polyester blend) - wicks and feels dryer than flat fabrics
Rayon
Organics such as bamboo, hemp, linen, ramie
Felt - not as popular, but wicks through and resists stains
Middle Layer Materials
Think absorbancy while attempting to keep it thin, but you can use as many layers as you need
This layer can be removable for quick drying. You can put several middle layers into one set of wings (bottom layer) depending on the style of the pad so you can adjust your absorbancy as needed.
I suggest trying several styles out and even mixing and matching your materials
Cotton quilt batting - stitch it down to prevent bunching
Cotton - those holey husband's t-shirts need a new use
Terry cloth - those stained, used wash cloths/towels you don't want your guests to see work well
Sherpa
Flannel - great for liner but may need more for heavy flow pad
Double napped flannel
Microfiber - very absorbent, but may need to be changed often
Top Wing Material
This layer will touch your thighs. Waterproofing this layer adds extra undie protection.
Cotton
PUL (polyurethane laminate) - with cotton or polyester side on top (next to skin) and film between top and bottom wing
Moisture Barrier/Waterproofing (optional)
Added between layers of wings OR behind absorbent padding
PUL
Waterproof Polyester
Naprap
Synthetic fleece or wool - not waterproof, but helps while remaining breathable
Ripstop nylon - harder to sew
Felted wool - not recommended for the dryer
Fleece - high quality (Polarfleece or Windbloc)
Procare - less flexible PUL
Bottom Wing Material
Helps keep pad in place
Corduroy - especially if going "wingless"
Cotton
Flannel - helps keep in place due to "stickiness"
Felt - helps "stick" to undies
Fasteners
Snaps (I am a fan of
KAM snaps, but use whatever works for you)
Buttons
Velcro
Tabbed wings - wide tab on one wing that slips into a loop on the opposite wing
Helpful tips:
Wash all material before cutting and sewing
Do NOT use fabric softener, it will make fabric less absorbent
I think the best idea for cleaning I have seen is to take a gallon pitcher or
decorative pot with lid filled with cool water and a splash of vinegar, if desired, to toss them in until wash day.
When sewing a pad, the easier the better. I basically took an overnight disposable, traced it, modified it, and cut out a pattern.
I hope this post has given you some ideas. Please feel free to share your thoughts.


