So I decided my raised bed (we call them garden boxes here in the South) needed a source of natural fertilizer. We already use
vermicompost from our two
Worm Factory bins, but thought having the actual worms in the garden box would be better for the soil due to the worms basically being "little tillers" and making the soil nice and aerated.
There are many ways to make a worm tower. Many people use food grade PVC pipe because it is easy and all you need is an upside down flower pot for the lid. I prefer the wooden one (untreated wood) because I think it looks better. I also think the wood will have some insulating properties; it gets pretty hot here.
I have to thank my husband for helping me and not once complaining. He's the best!
Keep in mind that these measurements are ours and don't have to be exact. Use what you have. I have seen some that are really tall and others that are made of short pipes.
 |
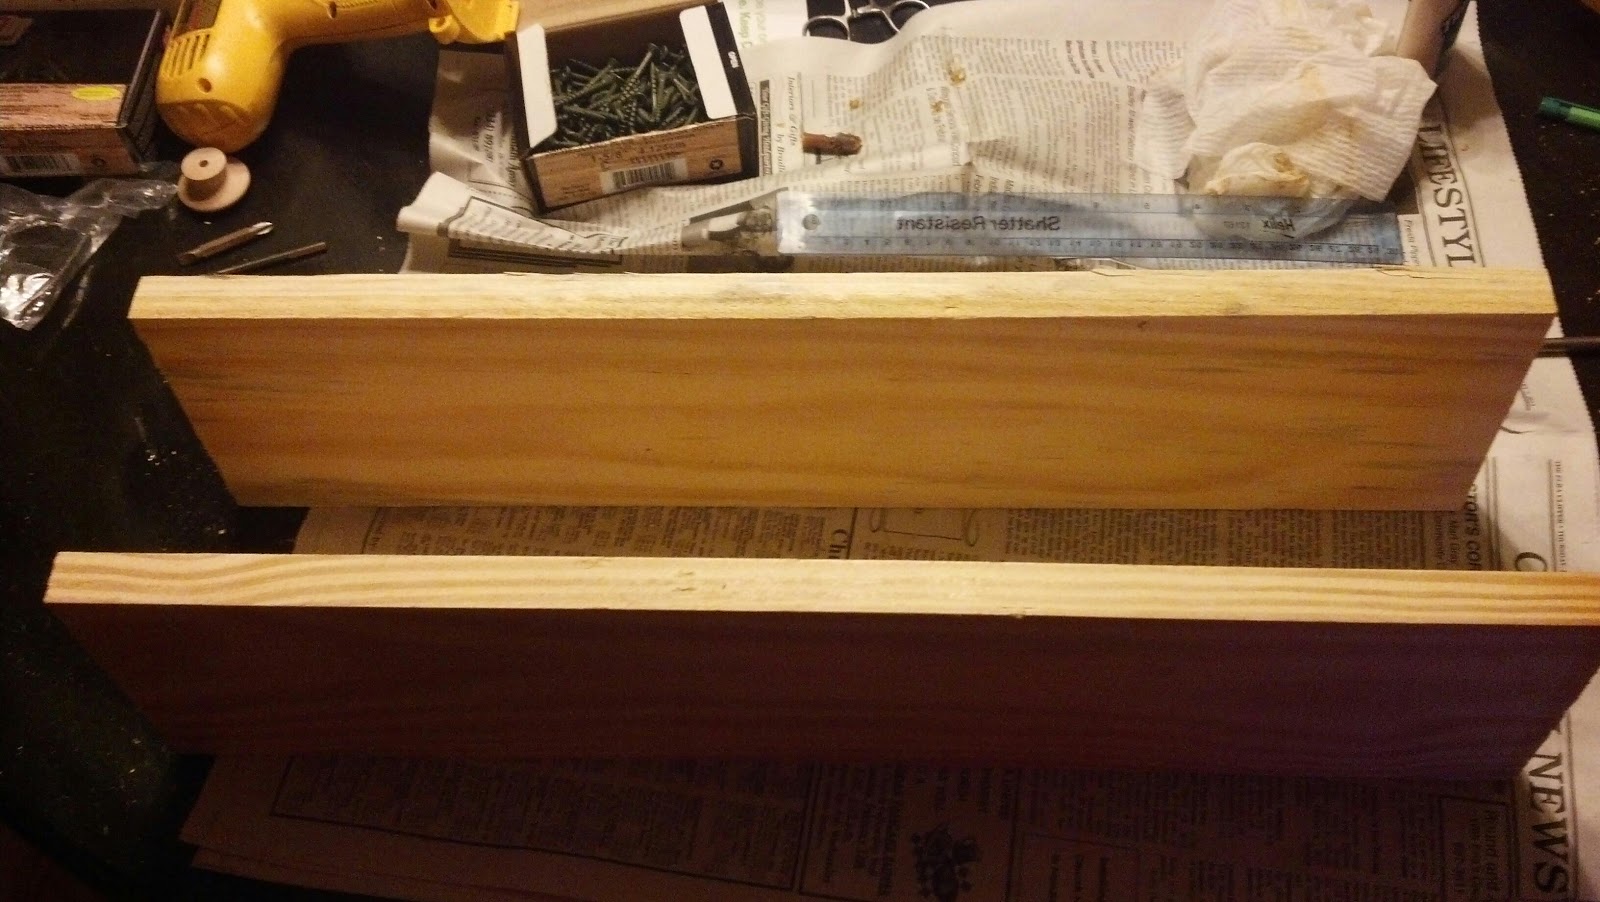
| First, we cut out 4 sides that were 22" long. I'm working at my kitchen table because it is storming outside. |
 |
Be sure to use outdoor wood glue on the edges before screwing your boards together.
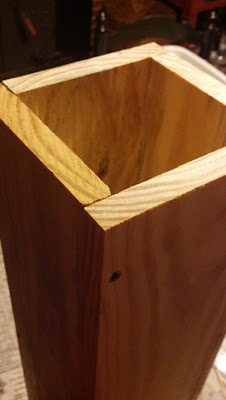 |
| Next, we put them together in a square. Notice there are screws visible
on only the left side of the box due to the way we stacked it. This will
make it stronger. Also, notice we turned the wood grain to where it is
cupped to the inside of the box. |
|
|
|
 |
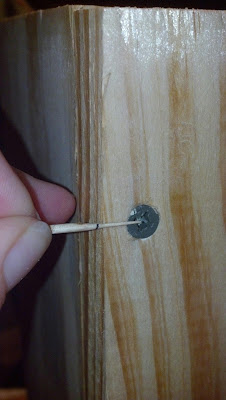
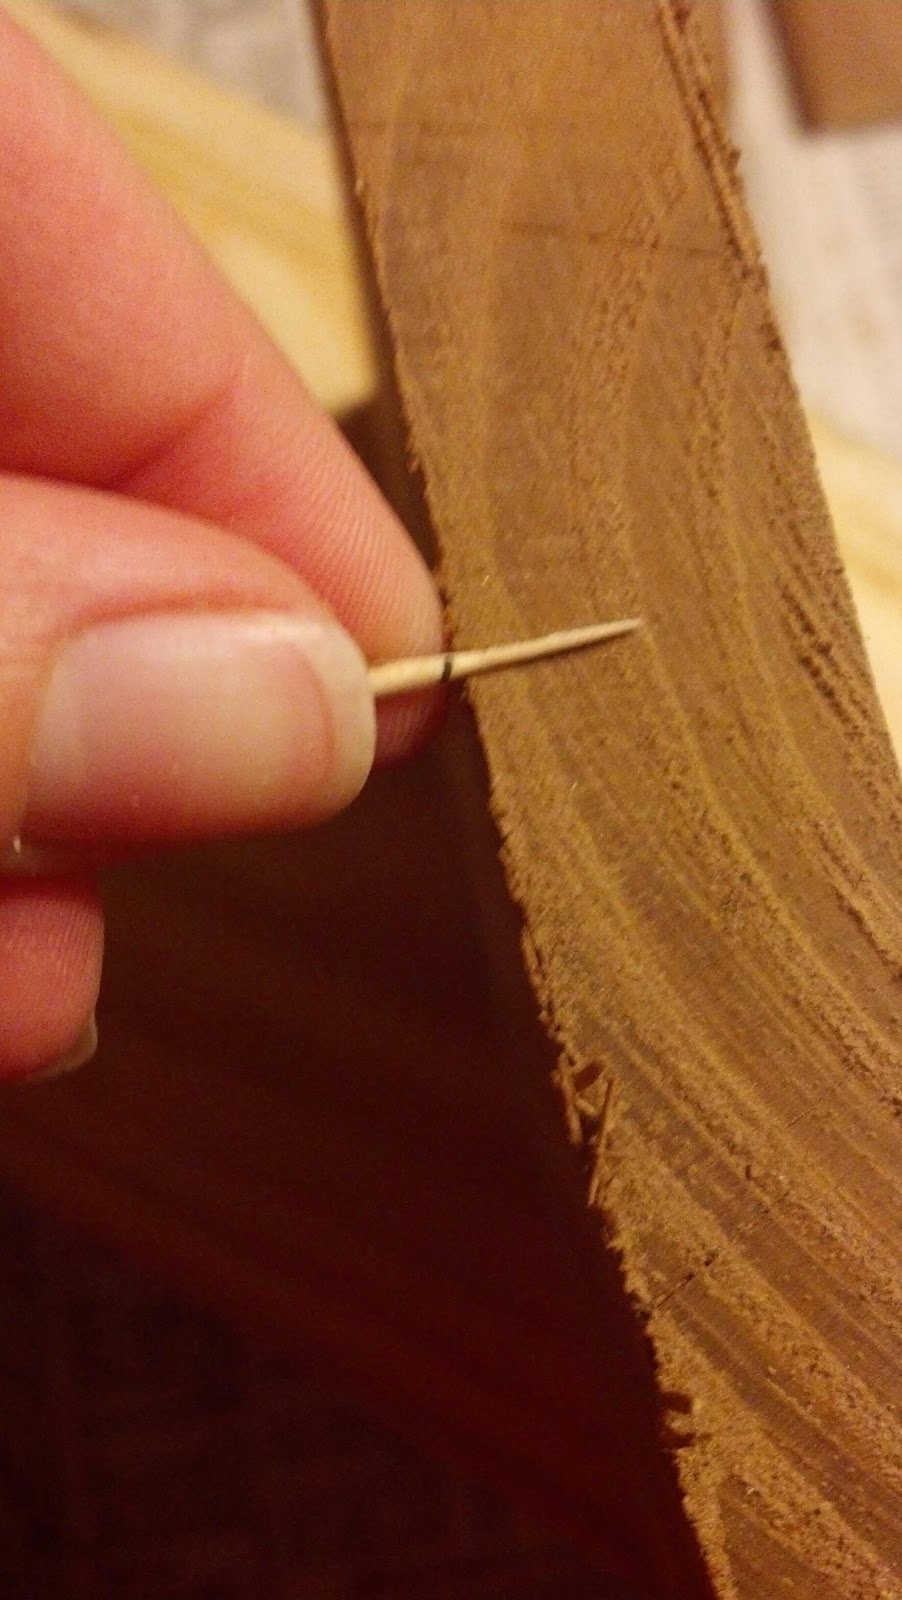
| This is my trick for finding the center of the board when I have to attach the sides. I am excellent at getting too close to the edge and missing my board or going in so close that the screw sticks out the side. Not anymore. |
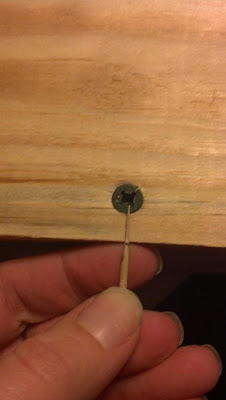 |
| See. The screw went in and is in the center of the board that you are attaching to. |
 |
| You may not need this step, but it works really well for me. |
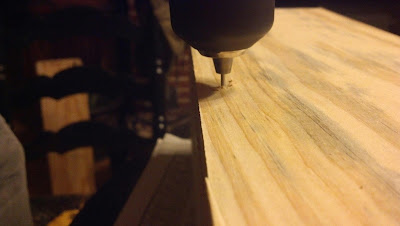 |
| Drill pilot holes so you don't split your wood. |
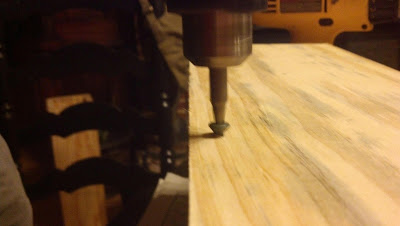 |
| We used deck screws to attach the sides. |
 |
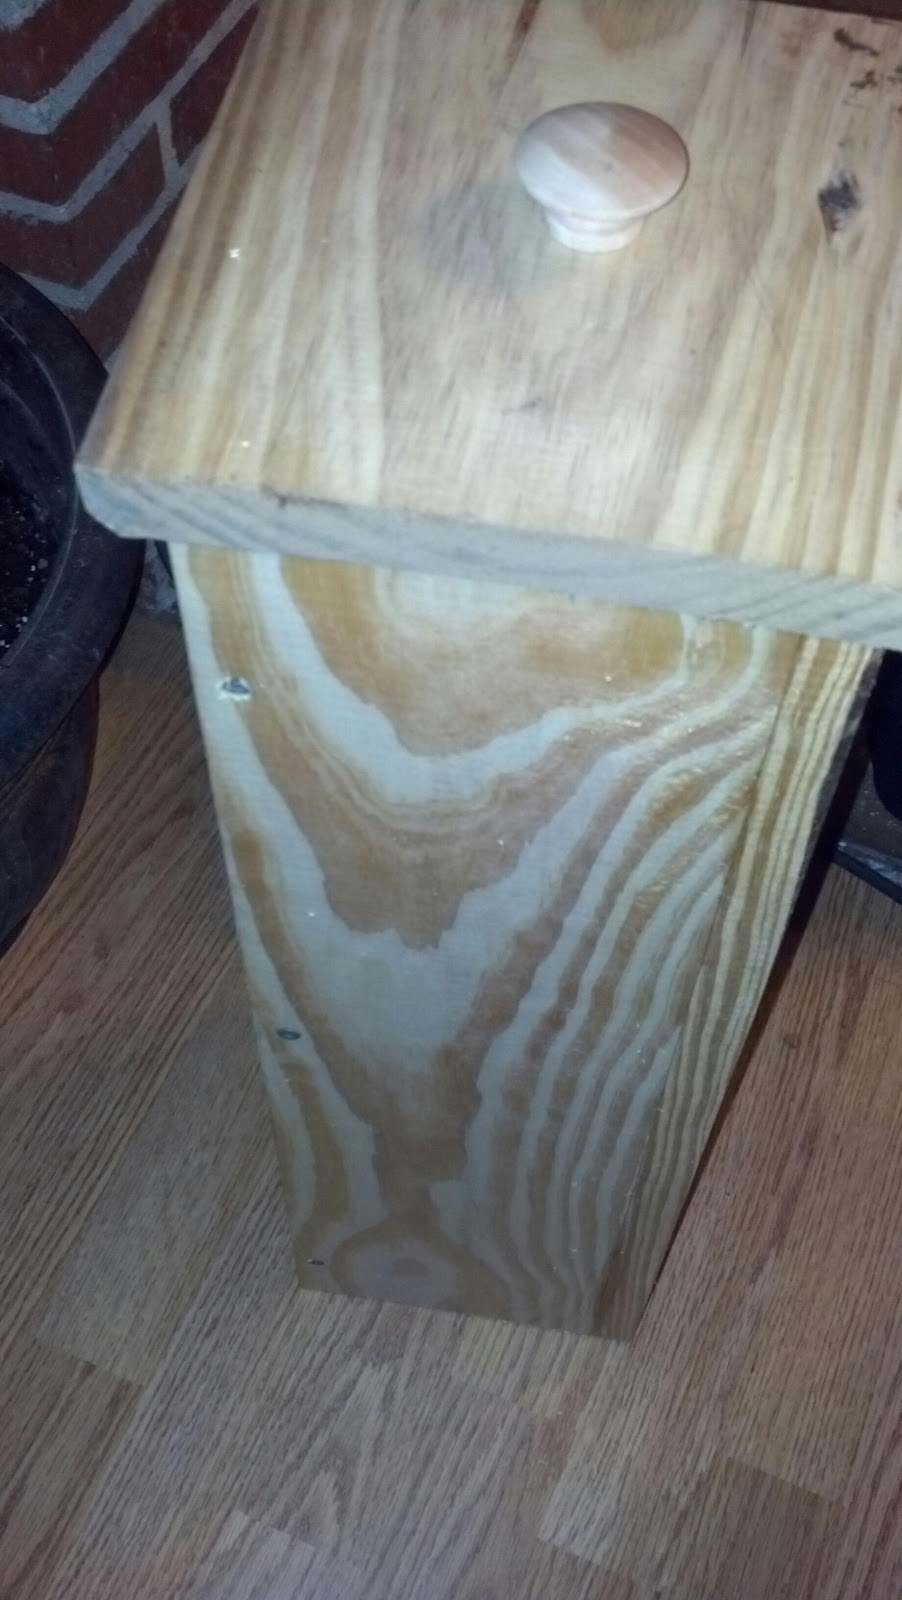
| This is what it looks like at this point. Now we need a lid and a vent hole. |
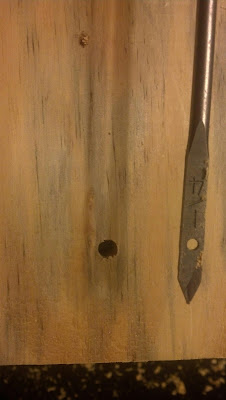 |
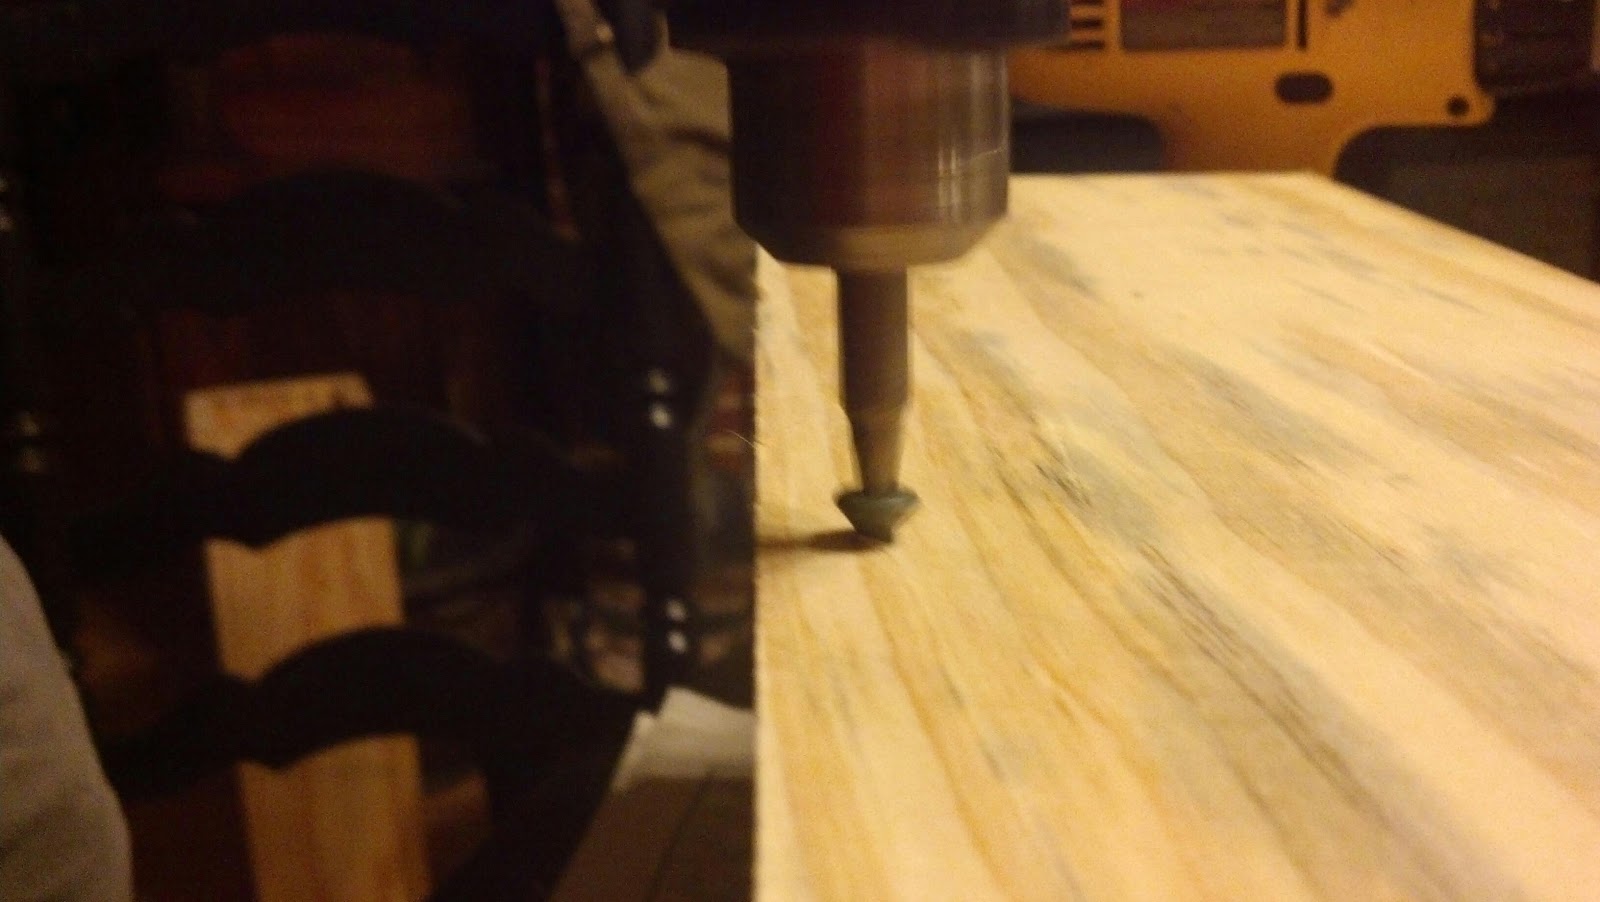
| I used a 1/4" spade bit to drill a vent hole in the center of one side near the top. This just lets warm air out. |
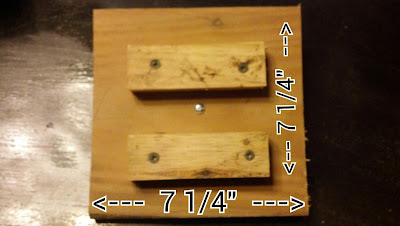 |
| The exact size isn't important. You can even use a small bucket or terracotta planter saucer as a lid. I like the wooden one because I think it looks better. The blocks are 4 1/2" by 1 1/2" and are used to keep the lid from falling off. They also add a little extra weight for those extra windy days. If you are extra creative, you can use a router to make the edge more decorative. |
 |
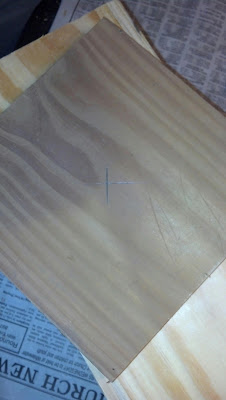
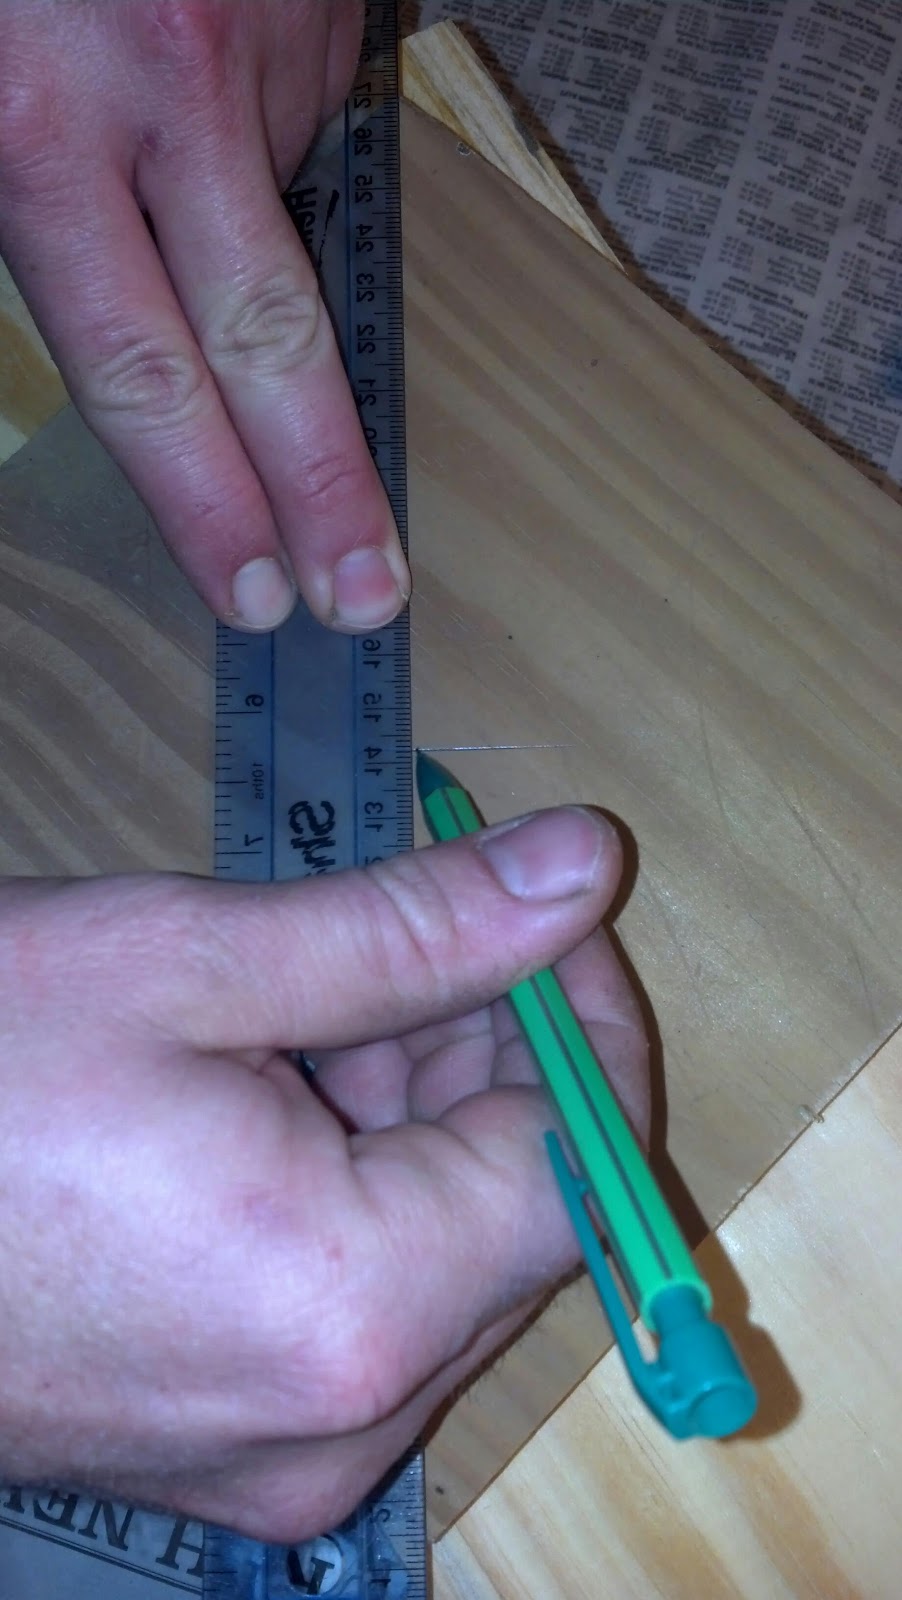
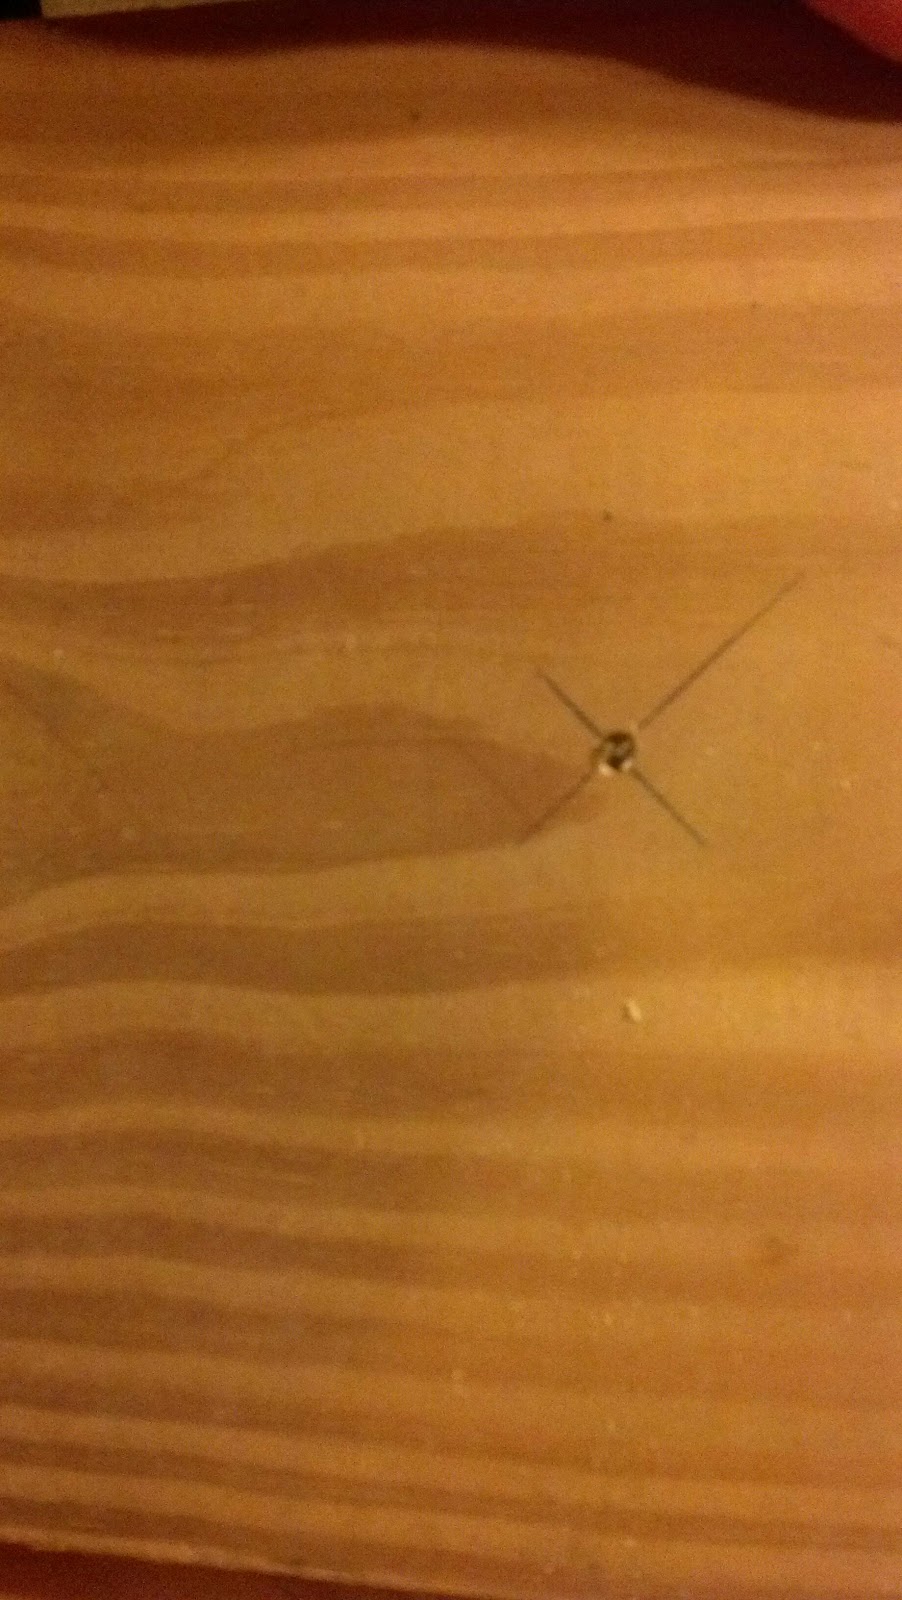
| To drill your hole to attach the nob, you'll need to find the center of the board. Just use a ruler or other straight line and draw from corner to corner, making an X in the middle. That's the center of the board. Drill a hole for the nob in the middle. |
 |
| X marks the spot. |
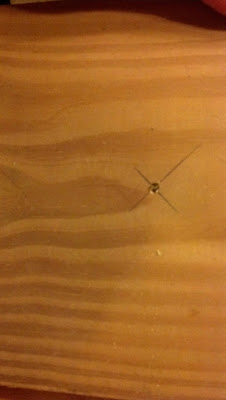 |
Follow package directions on attaching the nob. We used a wooden drawer pull. You most certainly can use ceramic, but keep in mind it will be outside and will be in the sun and rain (not much sleet and snow here).
After drilling your hole. Attach the blocks to the underside of the lid. Make sure to use some more wood glue. |
 |
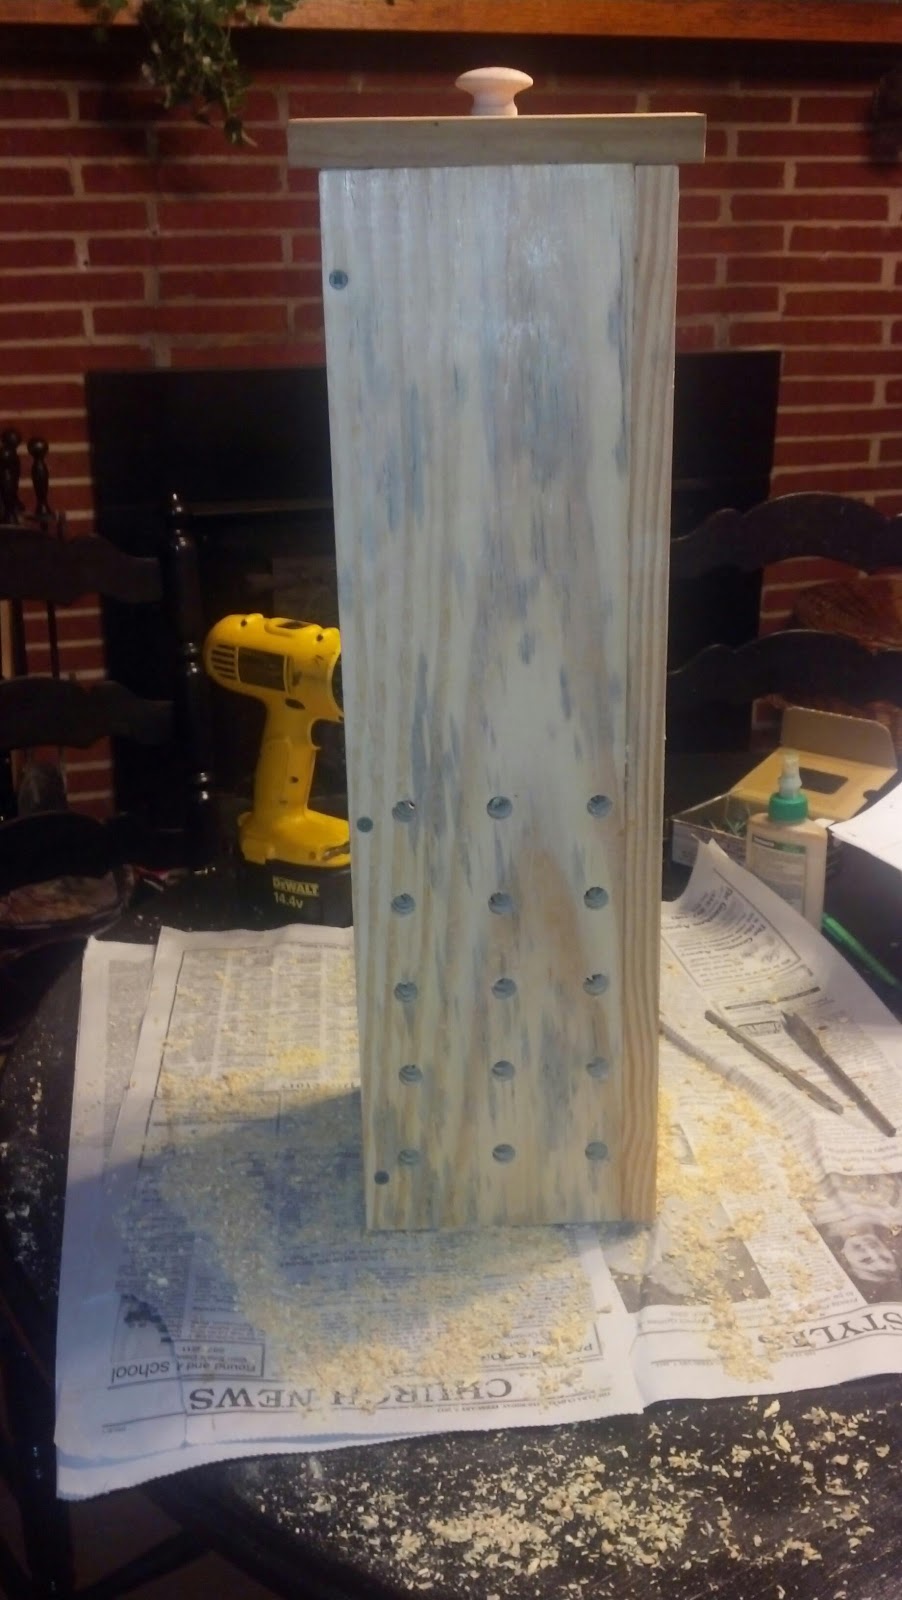
| Now it is time to drill some holes so the worms will be able to get out and go into your garden to leave their precious black gold in the soil and be able to return for dinner. |
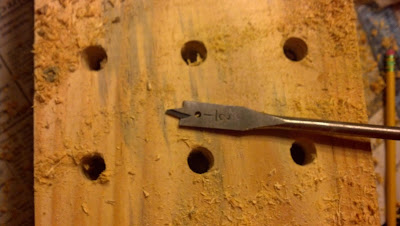 |
| I used a 1/2" spade bit and drilled 15 holes in each side. The placement is not important. Remember, this part will be in the ground so nobody will see it. Worms don't have eyes so they won't care either. Just make sure you have plenty of holes and they are big enough. If in doubt, go bigger, or at least a lot more smaller ones. |
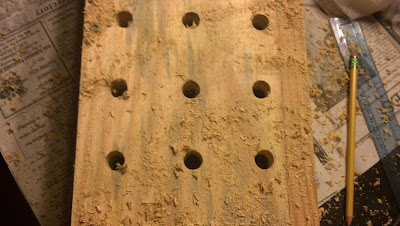 |
| Yes, there was saw dust all over my kitchen. |
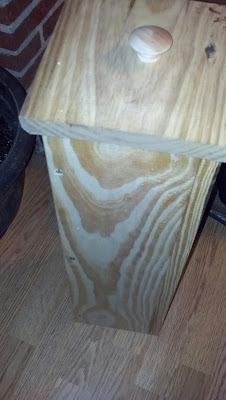
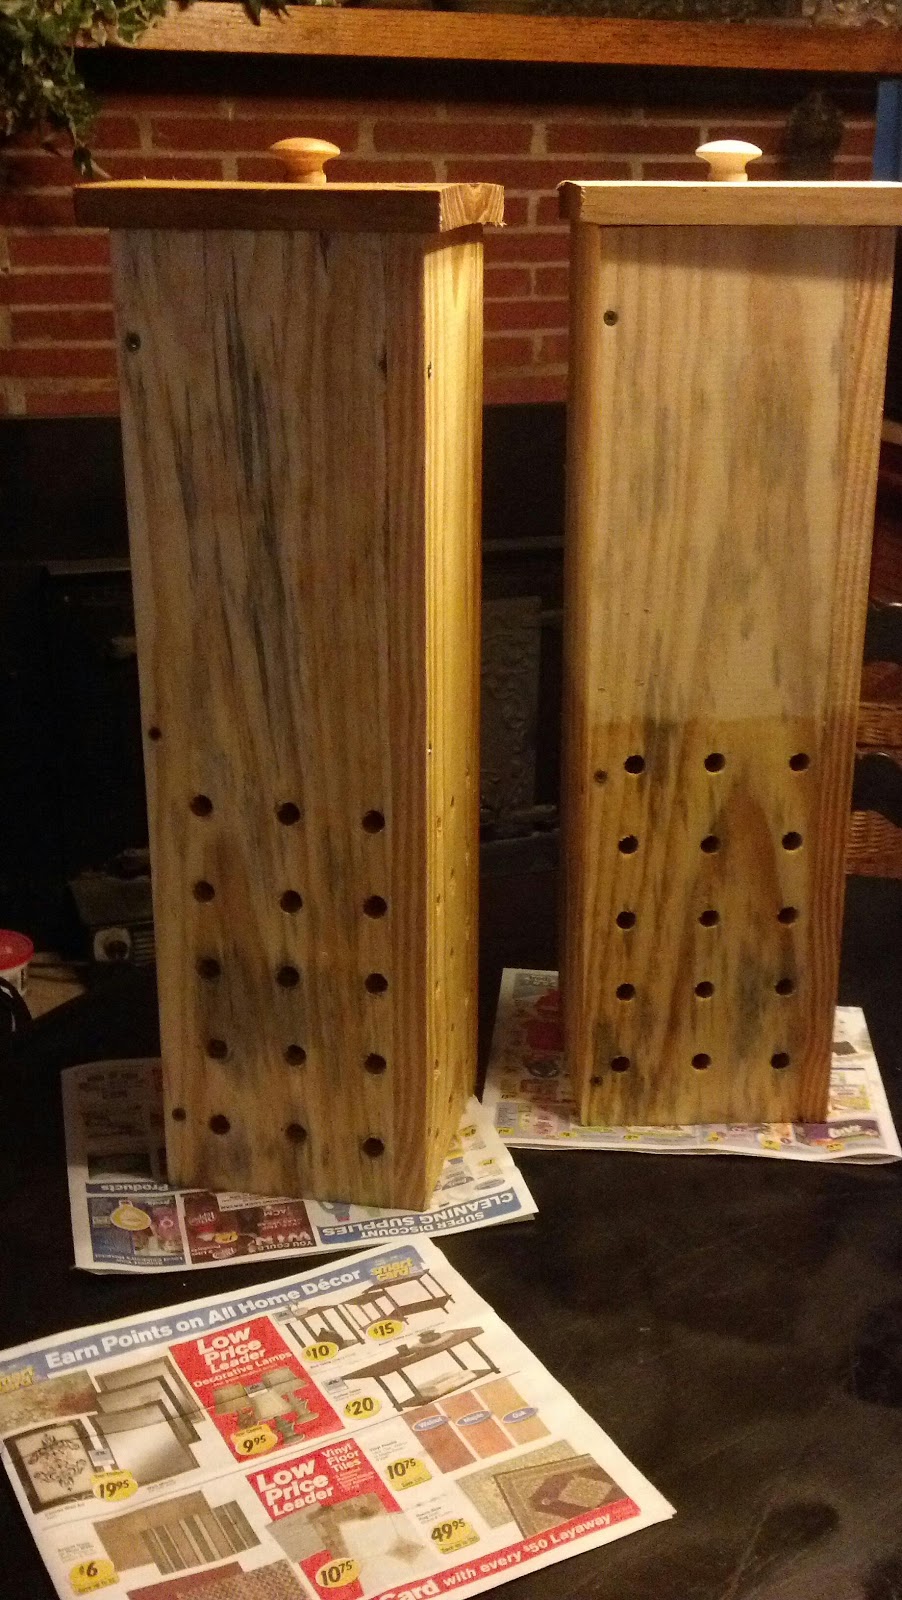
Here's the finished worm tower. Ta Da! The way you use it is you place it in your garden or garden box by burying it in a hole making sure all the holes are underground. place some moist shredded newspaper in the bottom with a handful of composting red worms. I got mine from
Uncle Jim's Worm Farm. Then, you feed them your kitchen scraps.
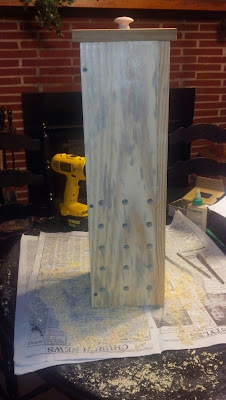 |
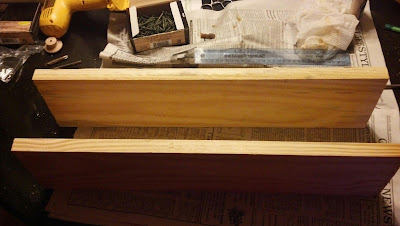
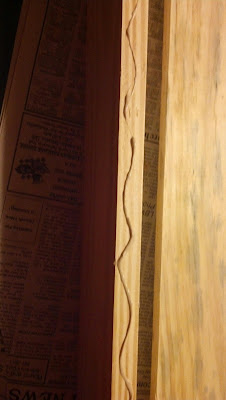
| To finish it, we are using boiled linseed oil, which is not toxic but will help preserve our wood. It won't last forever, but it will slow the rotting process. |
There are many articles out there that will give you plenty of advice.
A few tips from me:
- Use citrus and peelings in moderation, the more acidic foods you add, the more base (eggshells) you need to add.
- Worms LOVE corrugated cardboard. They lay their eggs in it if it is near food. However, I don't think it should go in a worm tower because it takes too long to break down. The whole concept is to get the nutrients out into the garden and not build up castings in the tower.
- Never put meats, oils, or dairy in your vermicomposter or worm tower.
- Put your weeds from your garden into your worm tower. Serves them right. How dare they grow in your garden.
- Use lots of worm towers. Flowers, as well as food gardens love worms and their castings.
- Eventually, you will have to move it around. When you do, keep it "within reach" of your established worms in the garden so they can use it again. Unless you have an established indoor vermicompost system, then you can just add worms you already have or just buy more.
Here's a great picture on how the worm towers work.
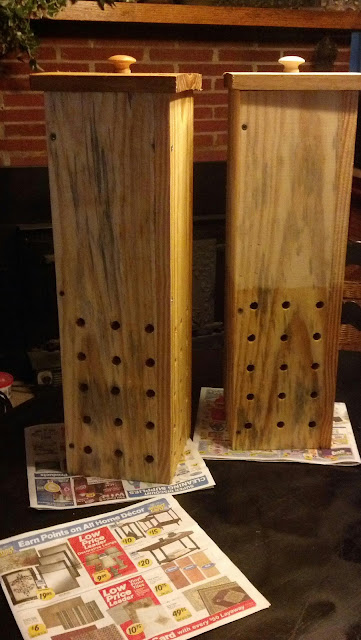 |
| I actually made two of these (one for a friend). She wanted to paint the top of hers while I wanted to leave mine natural. Mine (on the left) is covered in boiled linseed oil all over. I covered hers on the bottom and on the entire inside for protection. |


